
bedside PC build thread: preparation stage
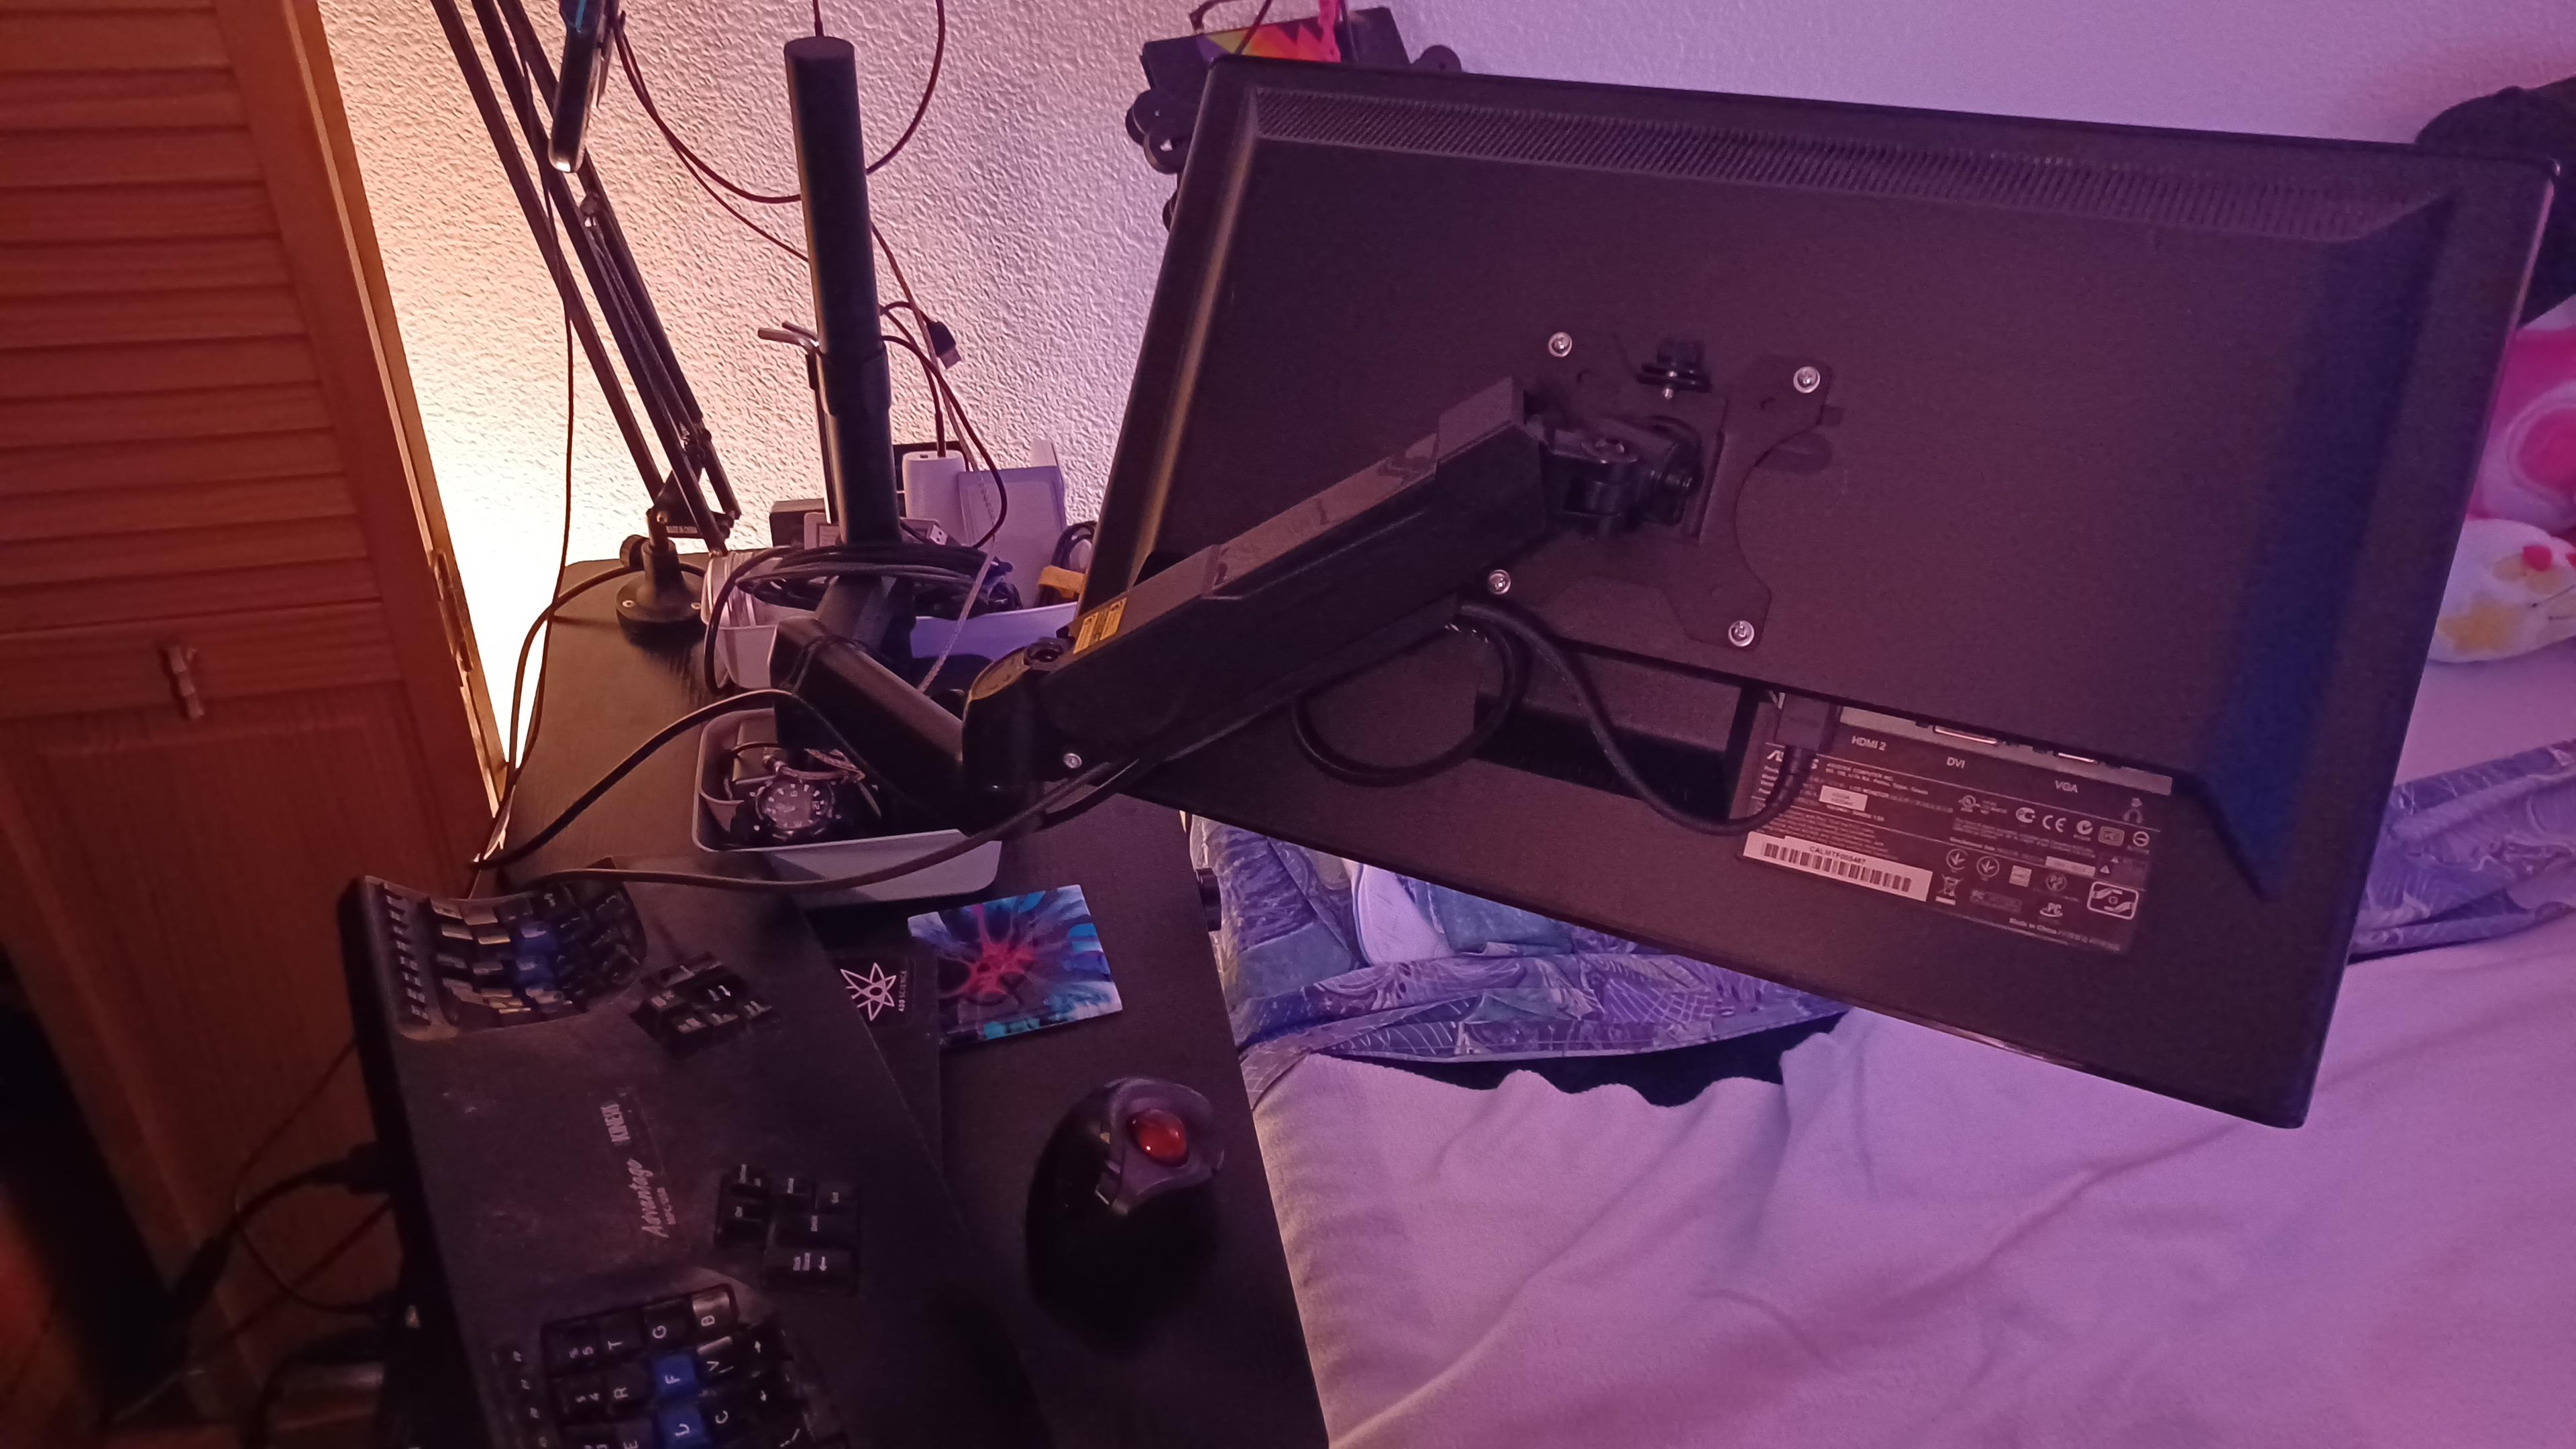
Monitor boom arm is mounted to the bedside table, and plugged into my Thinkpad x201's docking station via DisplayPort to HDMI adapter so I can get physical components dialed in. The keyboard rests across my legs when I need it, the trackball is wireless, and my headset's USB-C dongle is plugged in via an extension cable to hang behind my Switch.
Also mounted new casters.
Next step: Waiting for final components to arrive, then, The Build.
bedside PC build thread: waiting stage
All I have left to wait on now is the pair of WD Blue 1TB spinning-rust drives I'll be using for RAID 1 storage.
Why am I waiting on them when they're secondary storage?
Same reason you don't start cooking dinner until you have all the ingredients collected and ready to go: Lower odds of making a mistake.
Also, I need to update the motherboard's BIOS before doing practically anything, and that's where the RAID settings are according to the manufacturer.
bedside PC build thread: waiting stage
Let's see, order of operations...
Mount hardware in case. This includes minor airflow management mods. This is where I find out if my plan to get power into the hand-me-down video card with a C-adapter will work.
Update BIOS. Need to see if I can have the CPU installed or if it needs done in brainless mode. If the latter, delay PSU installation for ease of CPU cooler install.
Confirm BIOS settings, including RAID 1 for applicable drives.
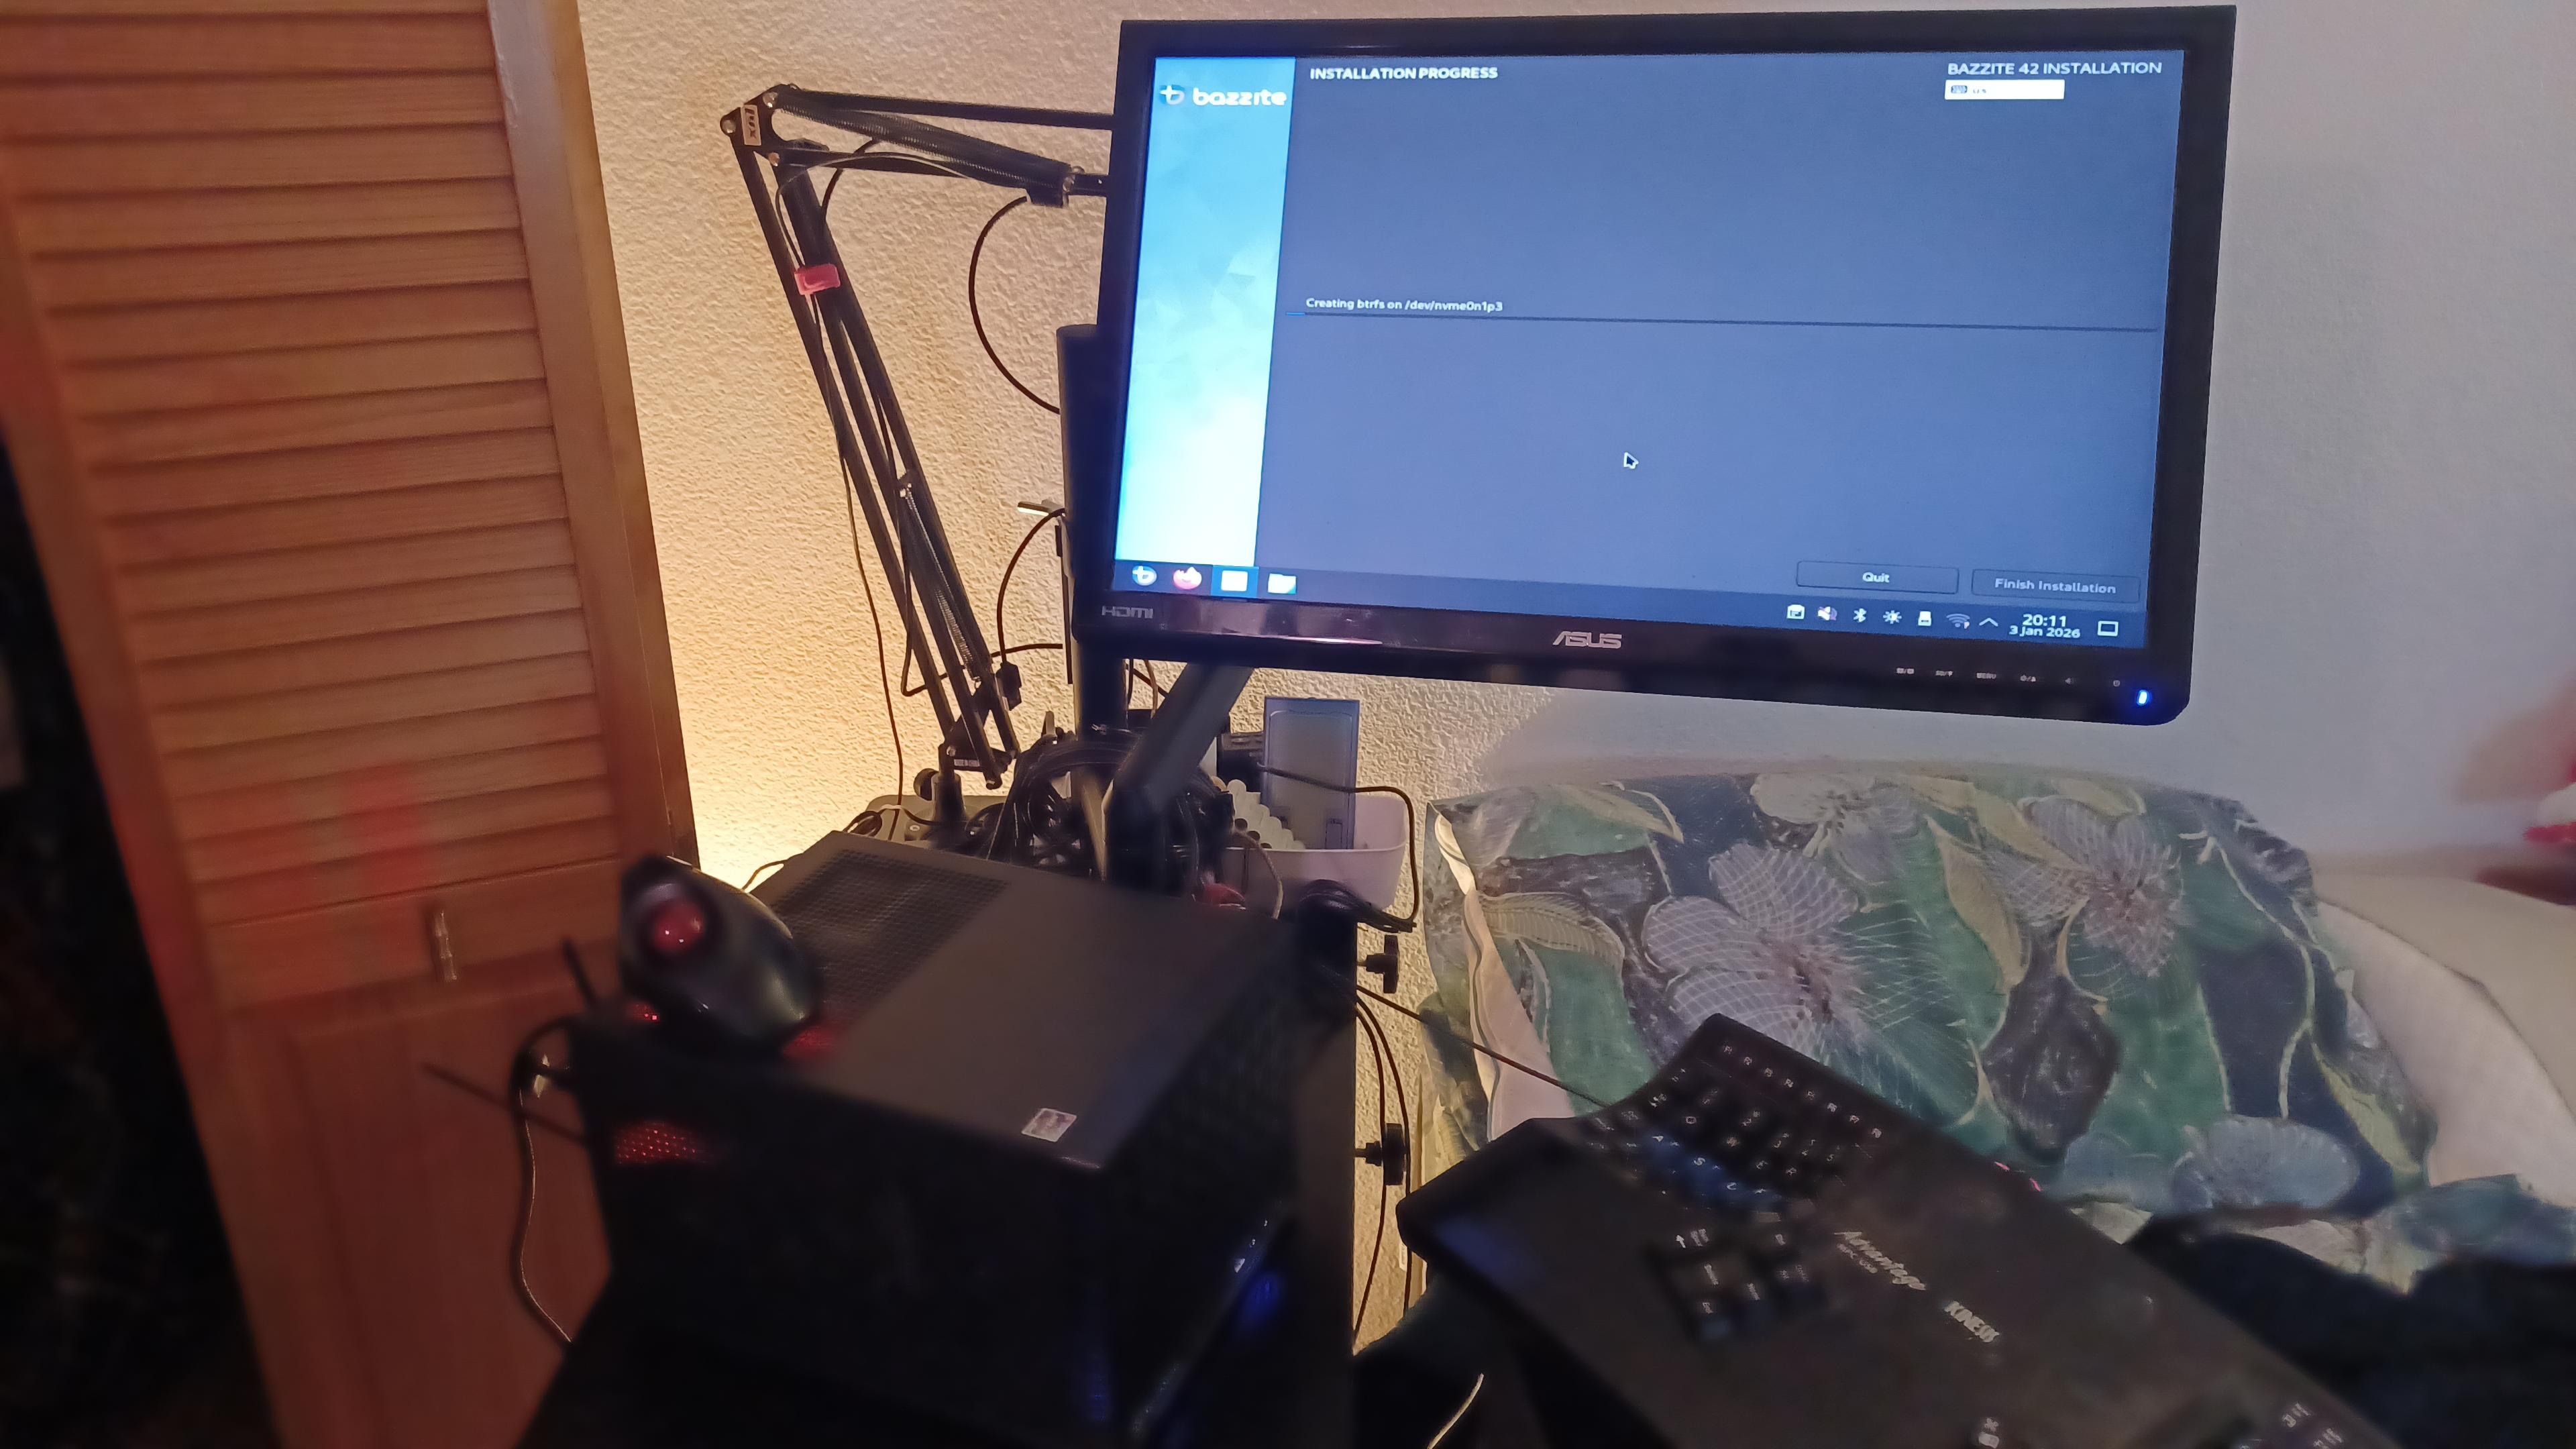
Install Bazzite.
bedside PC build thread: waiting stage
Yeah, I'm glossing over things like "get hardware into final location" and "plug things into each other and power" but c'mon. That's the easiest part.
bedside PC build thread: waiting stage
As for the "airflow management mods" mentioned?
Literally just duct-taping over a hole in the panel the front fan will mount to, on both sides of the panel. I get why the panel is designed the way it is, better clearances when using liquid cooling and larger case fan compatibility, but I'm not using liquid cooling and I'm not using a max-size case fan.
bedside PC build thread: waiting stage
Got the 32GB thumbdrive prepped to flash the motherboard's BIOS. Thankfully Gigabyte's figured out how to do that without a CPU or storage installed, just power (and maybe RAM? will review instructions when I do it.), so that's first on the list of things to do once the motherboard's secure in the case.
Means I'll need to work somewhere with a power connection within ATX power cord range. Hm. May need to move the air fryer, temporarily, to do that.
bedside PC build thread: waiting stage
Getting a Bazzite ISO downloaded, so I can prep the other thumbdrive for use as an install stick.
(merr crisis)
Edit: So, neat fact, Mint can just make a bootable USB stick from the GUI. All you need is the ISO and a USB stick to put it on. Right-click the ISO, and an option should be "Make Bootable USB Stick."
bedside PC build thread: waiting stage
Once I'm done with these flash drives as tools during the build process, I'll be reusing them. The little one used for the BIOS will get mounted in an internal USB-A port, and the big one used as a Bazzite installer will be used as a file ferry from my currently active systems to the new one.
bedside PC build thread: waiting stage
Summary so far:
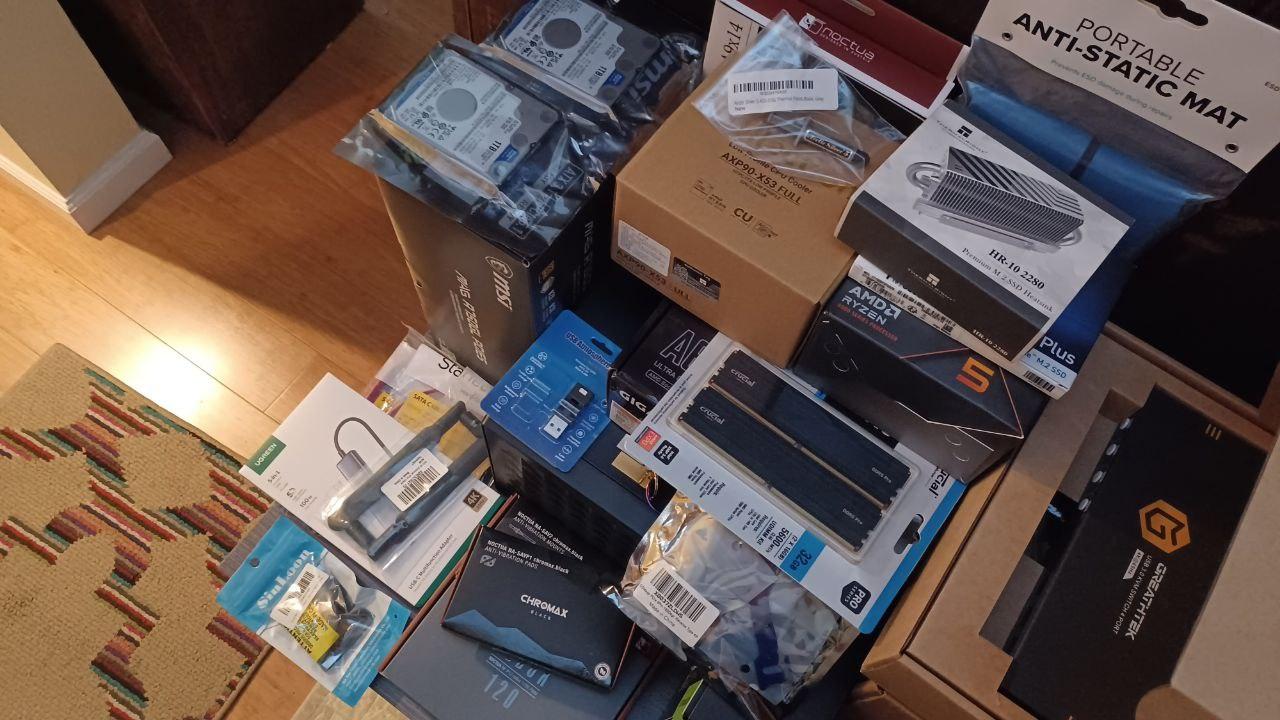
🔵 Still waiting on final components. (2x WD Blue 1TB spinning rust drives, will be RAID 1 storage.) Everything else is here.
🔵 USB flash drives prepped with an updated motherboard BIOS and a Bazzite install ISO.
🔵 Monitor boom installed and highly functional. Still need to make a few /minor/ adjustments for ease of use, re: arm extension joint tension, but otherwise holy fuck it works great. ASIN B0DNJ321JD if you want one for yourself.
bedside PC build thread: waiting stage complete
Last two drives are here.
Typing through focus issues plus headache, likely due to not drinking enough water. (This is your reminder to hydrate. You can't suck dick with dry lips, sluts, and chapped lips can crack and bleed in dry enough weather.)
Next steps being planned. Also, as I have a hernia, medical care will be prioritized for the duration and this may impact build thread progress.
bedside PC build thread: next steps
🔵 Mount motherboard in case, flash new BIOS.
🔵 Check clearance on NVMe heatsink backplate. It /may/ have issues with a heat spreader on the motherboard. If so, the backplate will be block-wetsanded to reduce its thickness. I'm hoping it won't need that.
🔵 Install all hardware and run internal cables.
🔵 Install OS.
bedside PC build thread: next steps
If pain levels accommodate, I'll be starting on this tomorrow after some light cleaning.
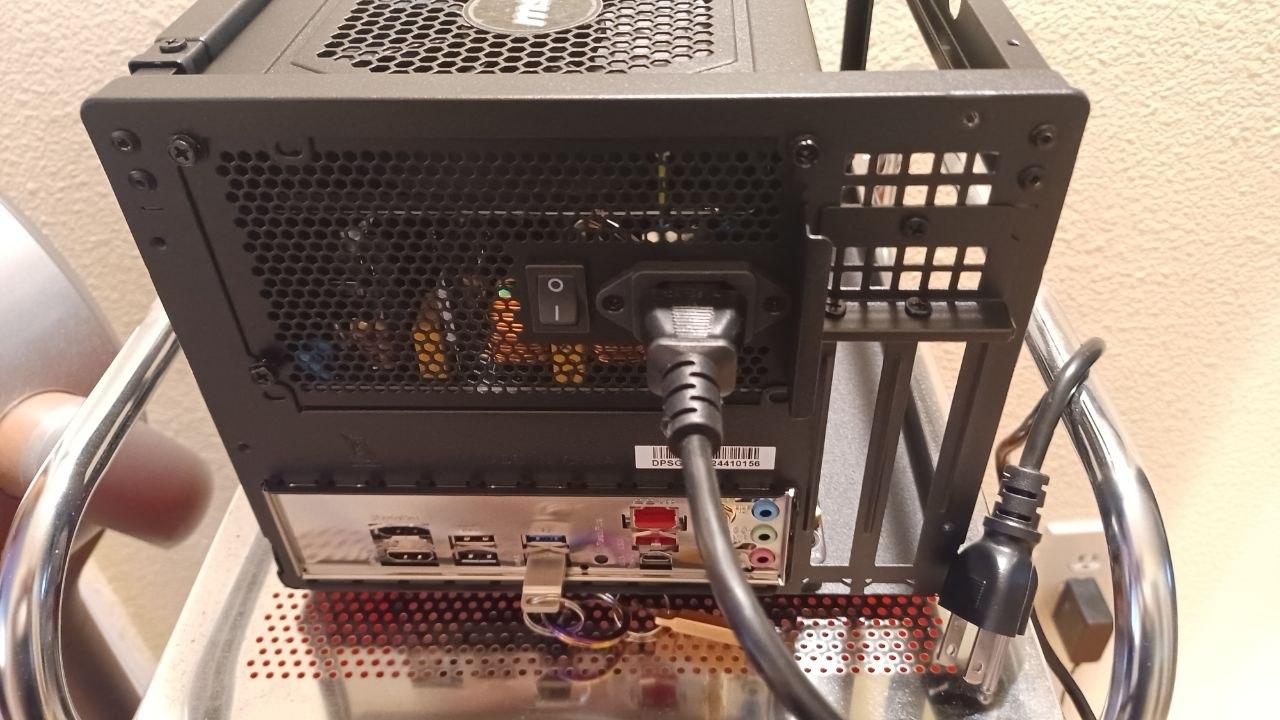
bedside PC build thread: parts pile pic + BIOS flash
If it weren't for the help of the fediverse and several friends, I wouldn't be able to do this at all. Thank you.
Today's goal: Flash Dat BIOS. This is supposedly easy thanks to Gigabyte's Q-Flash tech.
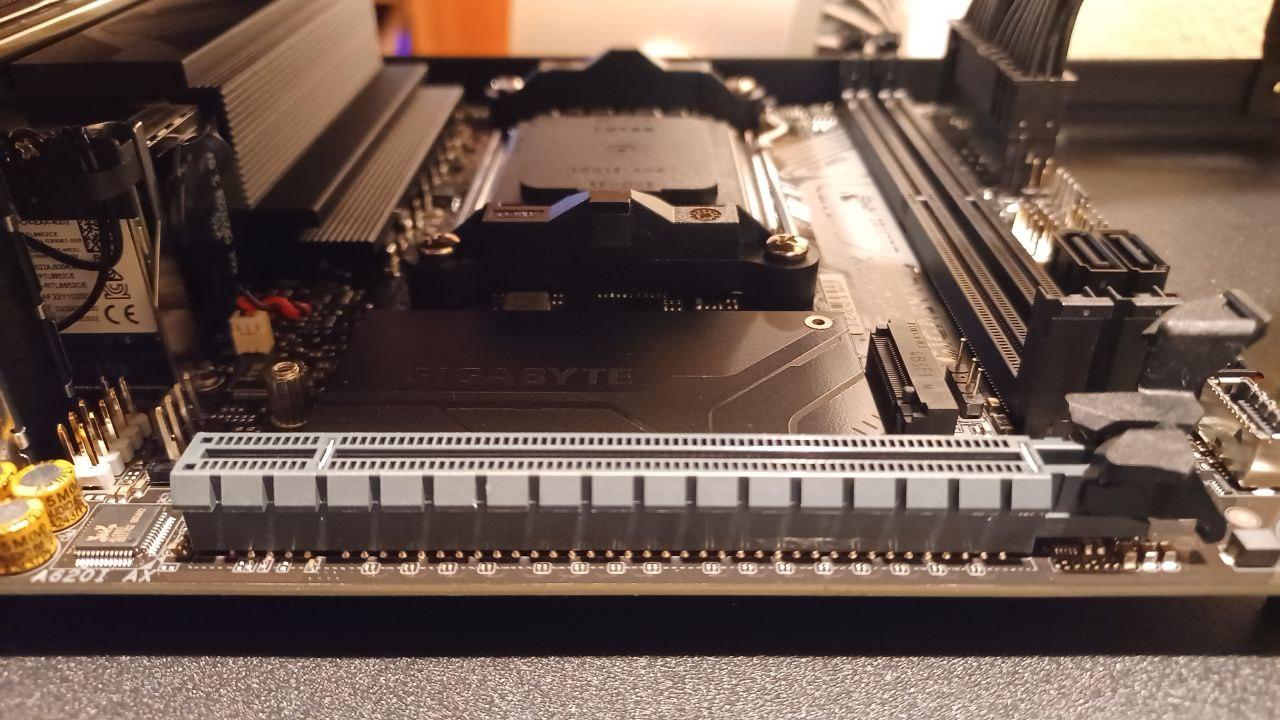
Optional goals: Test-fit the hand-me-down RTX 2060 Super and the NVMe with its heatsink dry-fitted.
Have some progress pics. Alt-text isn't highly detailed, but I'm willing to answer questions.
Edit: BIOS flashing appears successful!
bedside PC build thread: next steps
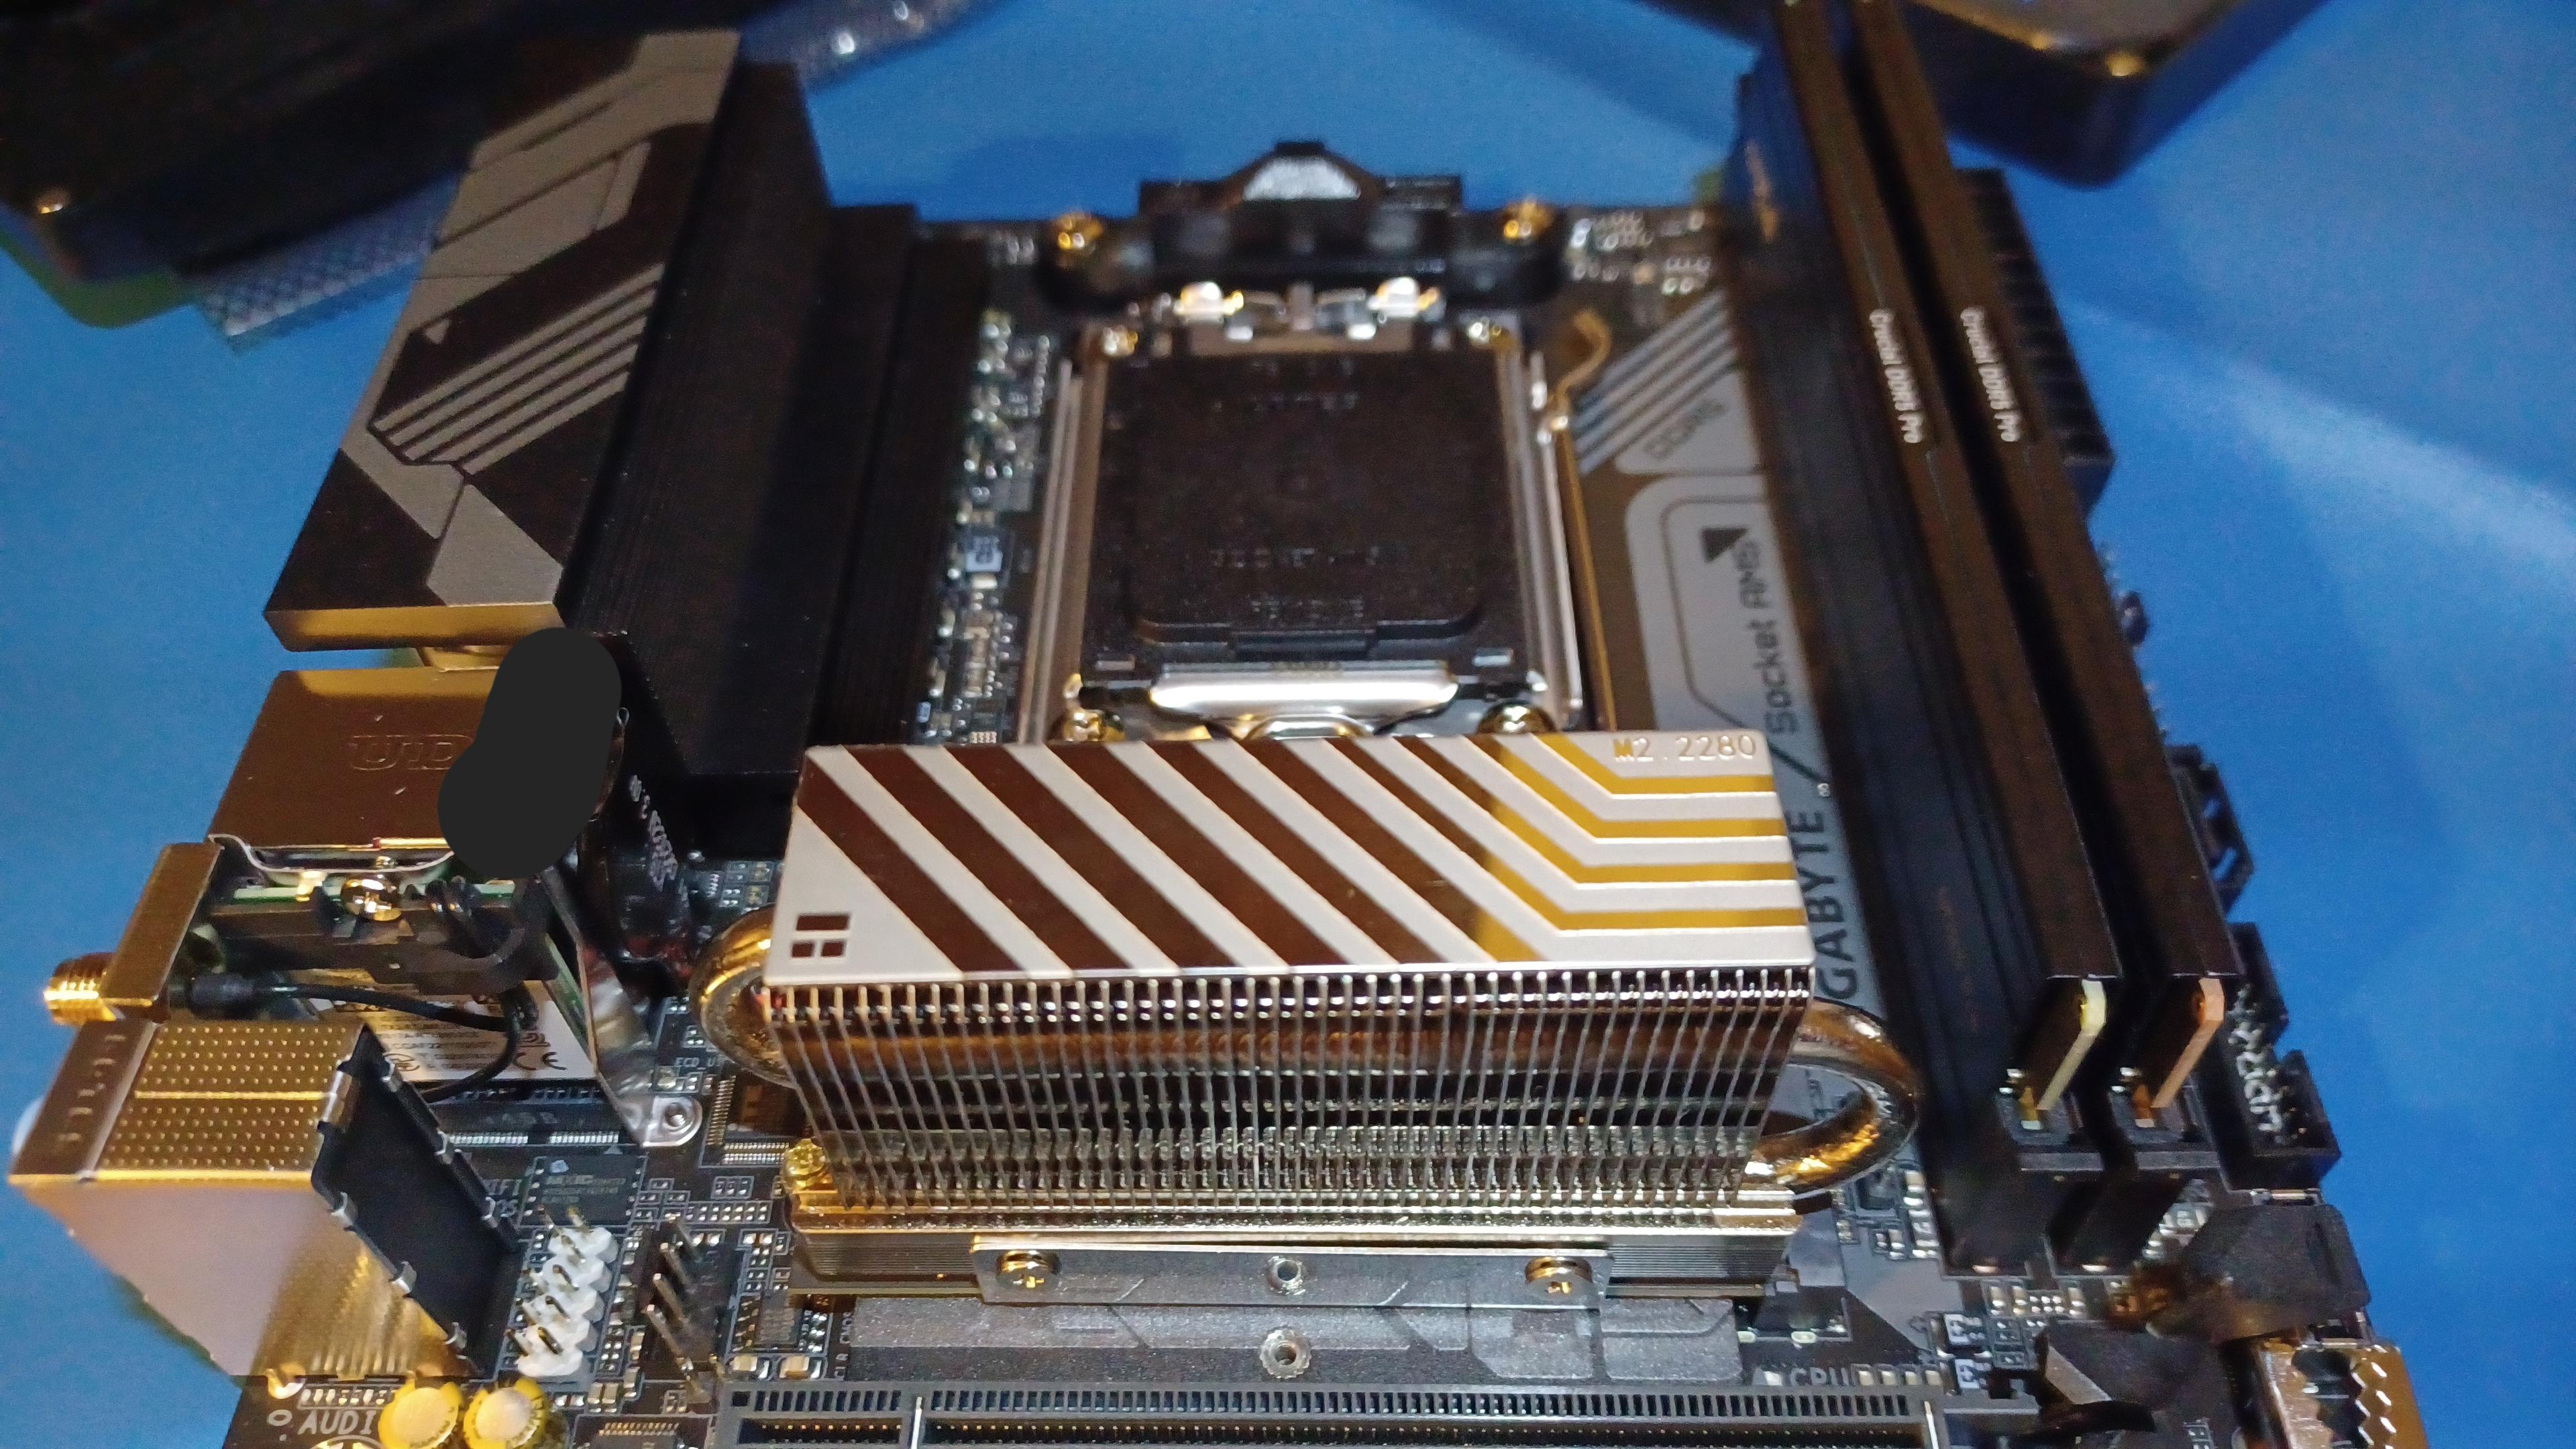
Dry fitting of the NVMe drive with the heatsink mostly fitted (I didn't peel the plastic off the thermal adhesive) and the 2060 Super complete. No issues aside from the one I already foresaw with the video card, and I have exactly the part needed to have already fixed it.
Next up is the exciting part: Not fucking up the RAM, CPU, and CPU cooler installation. These are not tasks for today, as I *am* intentionally pacing myself due to the hernia.
bedside PC build thread: next steps
Also, need to go through the case screws and mark the ones meant for holding on the bezel. They're all the same threading, but some heads are shorter than others, and that clearance is important.
Edit: I *could* power through and get it all done at once, but, y'know. I'm 40 and have a hernia. Lemme go slowly. Build up the antici...
![]()
bedside PC build thread: continued progress
...pation.
![]()
Woke up, had coffee, demounted the motherboard from the case and sorted screws. Today's tasks:
🔵 Install CPU, CPU heatsink, RAM, and NVMe drive. This includes changing the fan on the CPU heatsink for a Noctua.
🔵 Reinstall motherboard in case, install front fan and use duct tape to improve airflow through said fan by blocking a big ol' gap on one side, preinstall power cables. (modular power supplies are great y'all.)
bedside PC build thread: continued progress
Taking a break before installing the CPU and getting its heatsink attached. Need to review installation tutorials.
The NVMe heatsink is a Thermalright HR10 2280. There's also a "pro" version with a small fan, for anyone whose 2280 m.2 drive(s) might be under extreme load, but I don't need that.
Also got the front case fan installed, and swapped the stock fan on the CPU heatsink for the 92mm Noctua alternative. Will get pics of those later, no worries.
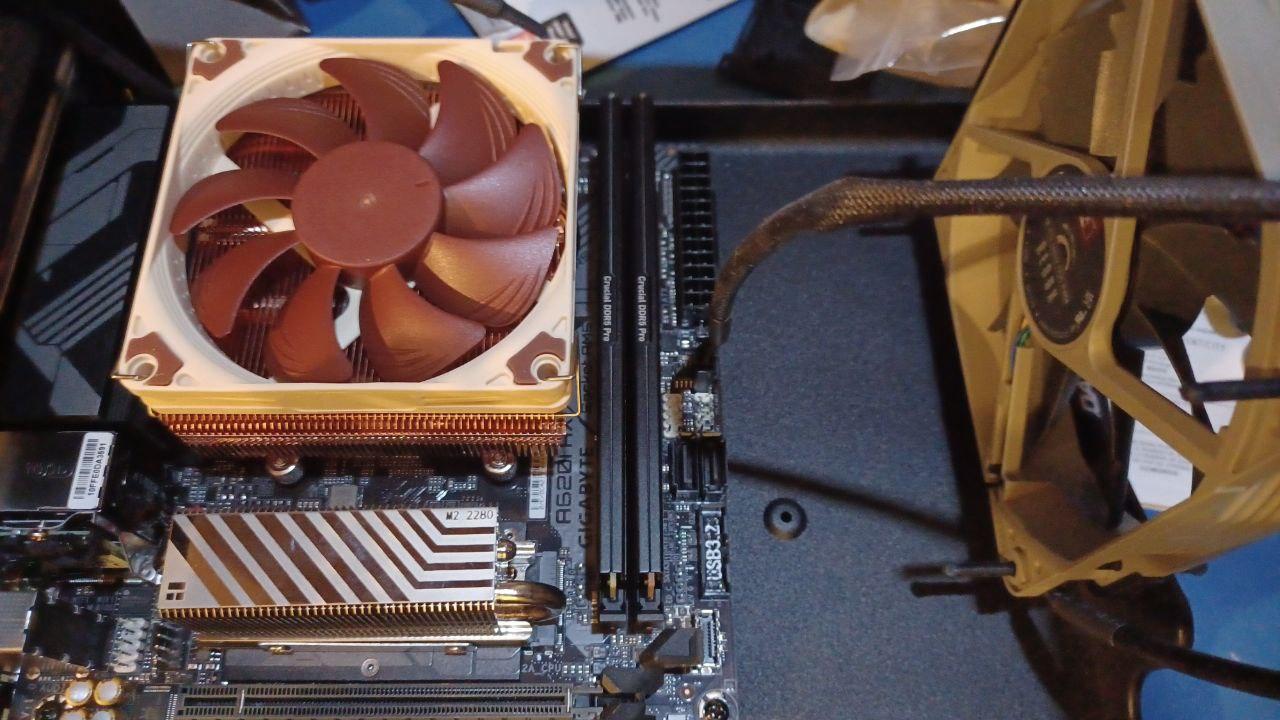
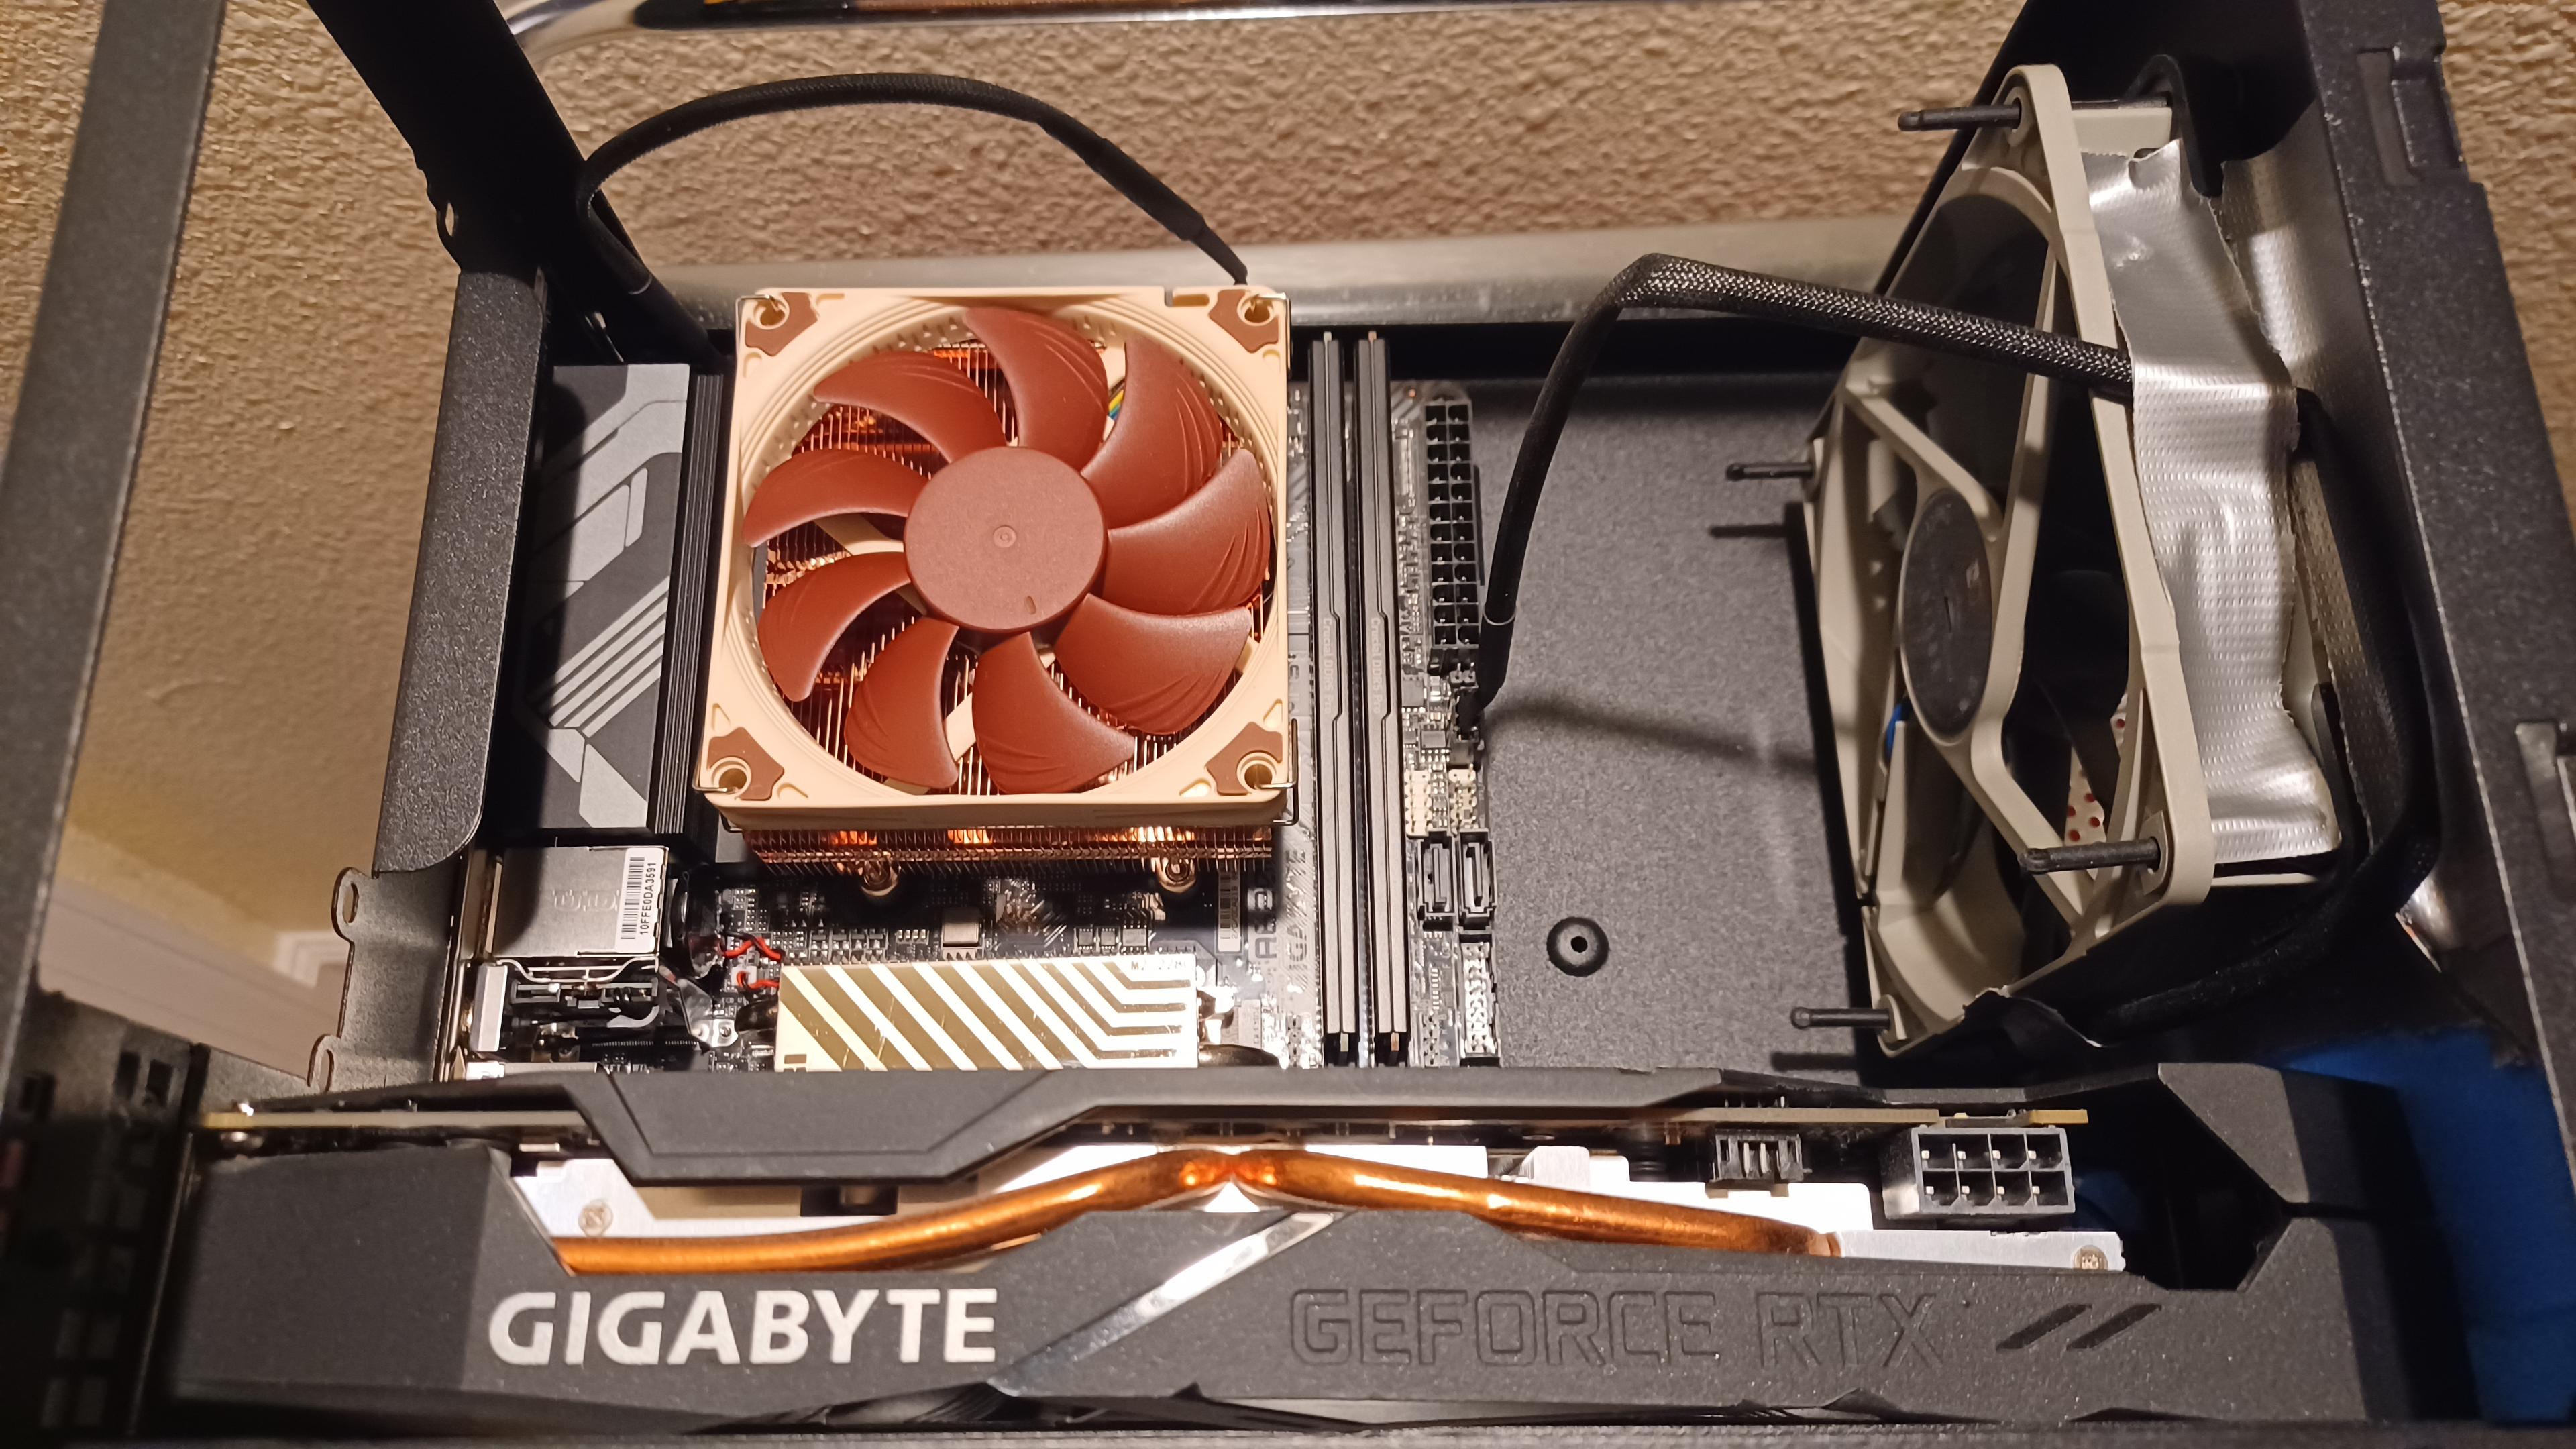
bedside PC build thread: continued progress
CPU is in and thermal paste is applied. CPU heatsink and fan are in and connected. Case fan is connected.
My plan to modify airflow with duct tape panels will need to be scaled back, due to the sheer size of the video card.
Also, alas, my plan to have internal USB ports from a little USB 2.0 header standoff won't work. The standoff board bumps into the RAM heat spreaders. ![]()
Edit: I will be getting a USB 2.0 header extension.
bedside PC build thread: progress/planning update
Not gonna be able to do much with the system directly for a bit, as I find myself in need of both a USB 2.0 header extension (much thanks to @Hearth for letting me know such a thing exists!) and hard drive mounting screws. Those're on order, since they're cheap enough it's worth taking a ricepaper-thin shaving off of savings to not have a senseless delay in the build.
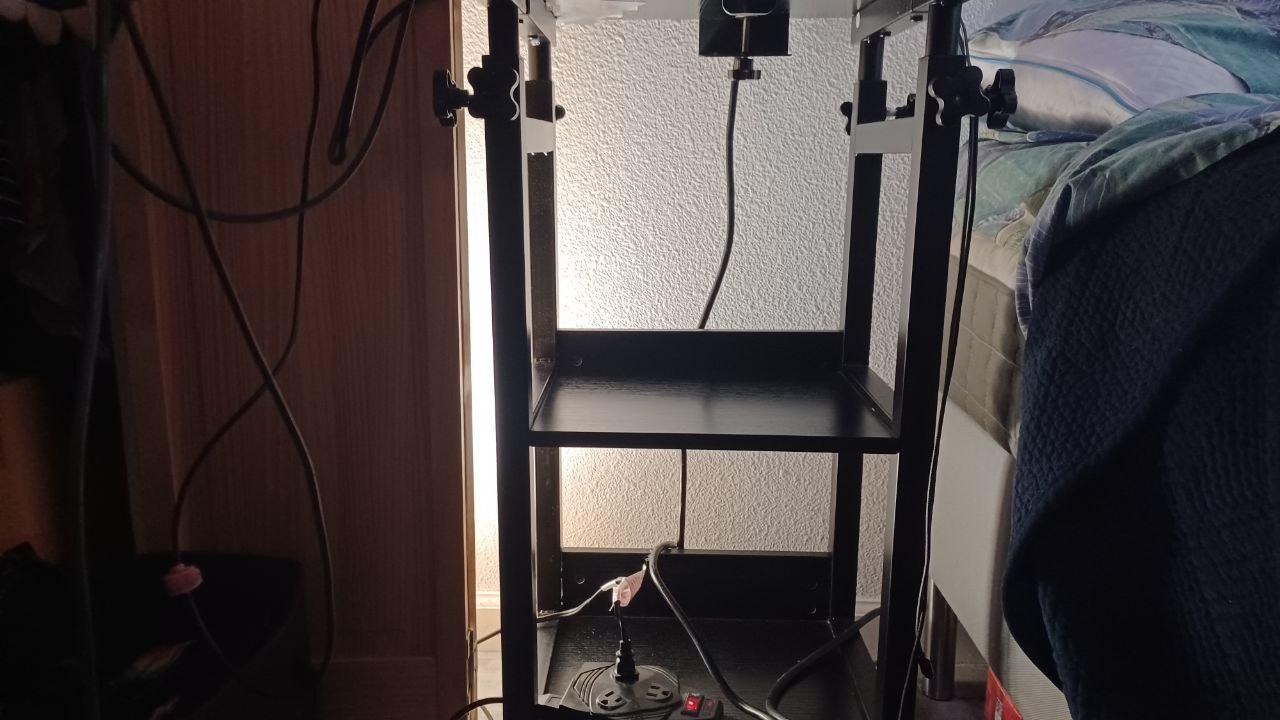
So until those parts get here, side table prep it is.
bedside PC build thread: progress/planning update
What side table prep, you may be wondering?
🔵 Getting the KVM switch, Thinkpad UltraBase, and smartphone HDMI adapter all stuck down with pairs of velcro dots.
🔵 Extremely minor adjustments, as well as thread-locking some bolts and clamps with blue threadlock.
bedside PC build thread: progress/planning update
KVM switch, laptop docking station, and USB-C HDMI adapter all in place. Also did some cable management.
Unfortunately, my phone doesn't actually support USB-C video out. ![]()
Should'a checked sooner than now. Ah well. I'll need an upgrade eventually, hypothetically at least, and I can make sure that's a feature in the new phone. Plus, I can likely still use the adapter's USB ports as a hub. (Haven't tried yet.)
No pics, because meh.
bedside PC build thread: progress/planning update
I also need to go on a dedicated hunt for my Switch dock, so I can get that connected to the KVM, and document how many more HDMI cables I need. (At a guess, three.)
PC progress will resume once the small parts on order (USB 2.0 header extension, HDD mounting screws) arrive.
bedside PC build thread: progress/planning update
Mini-ITX builds are like puzzles you have to design and assemble yourself.
Next steps:
🔵 Wait for delivery of drive mounting screws and USB 2.0 header extension.
🔵 Install hard drives in drive mounting plate.
🔵 Install USB 2.0 header extension and internal port header board.
🔵 Run cables.
🔵 Install power supply.
🔵 Manage cables and ensure cables are solidly connected, close up case.
🔵 Put system in final location.


re: bedside PC build
@Leucrotta I couldn't have gotten the parts without the fediverse and some lifelong friends, or had the tools (an ifixit kit that includes tweezers) if my significant ottr didn't already have 'em.
Other than that? Once you have the parts and tools, it's like building a no-glue model kit - insofar as everything really only goes together one way and manuals exist to help guide you, anyway. There's anxiety points, like the CPU and its heatsink, but they're manageable!